Injection molding is the most commonly used manufacturing process for the fabrication of plastic parts. The injection mold, which defines the part geometry and internal features, governs the design. A properly designed mold guarantees high-quality molded parts from a tool with a long service life.
After all due consideration has been given to prototyping and a decision has been made to produce significant quantities of molded parts in production material(s), it is necessary to review both good design practices for molds and mold making techniques, as well as product requirements.
1. Understanding Injection Mold Design Basics
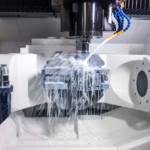
To better understand mold design process step, it have necessary to know mold and the injection molding machine. An injection mold is an intricately designed steel or aluminum tool that shapes a part by way of generating heat which causes the plastic to flow and harden in the cavity. The mold is designed with two halves, core and cavity, which are separated then closed while injection occurs.
Mold Design Key Purposes
- Generate the desired part geometry with repeatable accuracy.
- Provide long term tool durability for production runs.
2. Steps in the Injection Mold Design Process
Designing injection molds involves several steps, each critical to the performance and longevity of the mold.
Step 1: Product Requirements Definition
Before we start to design the mold, we need to have a clear understanding on below things:
- Part function (how it will be used)
- Material choice (plastic type, additives)
- Tolerances (precision requirements)
- Aesthetic needs (surface finish, color)
Step 2: Create the Part Design
The part design should be mold friendly i.e. it can be manufactured easily and without any defects inside it.
Design considerations:
- Sufficient draft angles for easy ejection.
- Ensure a uniform wall thickness throughout the part to prevent defects such as shrinkage or warping.
- Add ribs for extra strength without adding unnecessary material.
- Avoiding sharp internal corners where stress concentrations can occur.
Step 3: Designing the Mold Type
Two-plate mold: This is the simplest and most common type of injection mold.
Three-plate mold: for better gate location control.
Hot runner mold: to eliminate cold runners, thus reducing the volume of waste.
Cold runner mold: Cold runner molds are less expensive but each part will have a small plastic piece (called a runner) attached to it that must be removed.
Step 4: Determine the Number of Cavities
More cavities means higher productivity and more initial cost.
Factors to consider:
- The first factors to consider are your production volume requirements and expectations.
- Machine Capacity.
- Size of the Mould.
- Material flow capability.
Step 5: Core and Cavity Design
The core makes the internal features of the moulded part and the cavity makes the external shape of the part.
Both must:
- Maintain precise alignment.
- Withstand repeated injection cycles.
- Be made from hardened steel for long runs or aluminum for prototypes.
Step 6: Gate Design
The gate is where the molten plastic goes into the part cavity.
Types of gates:
Submarine gate: Allows automatic part separation.
Pin gate: For small precise parts.
Fan gate: Distributes material evenly.
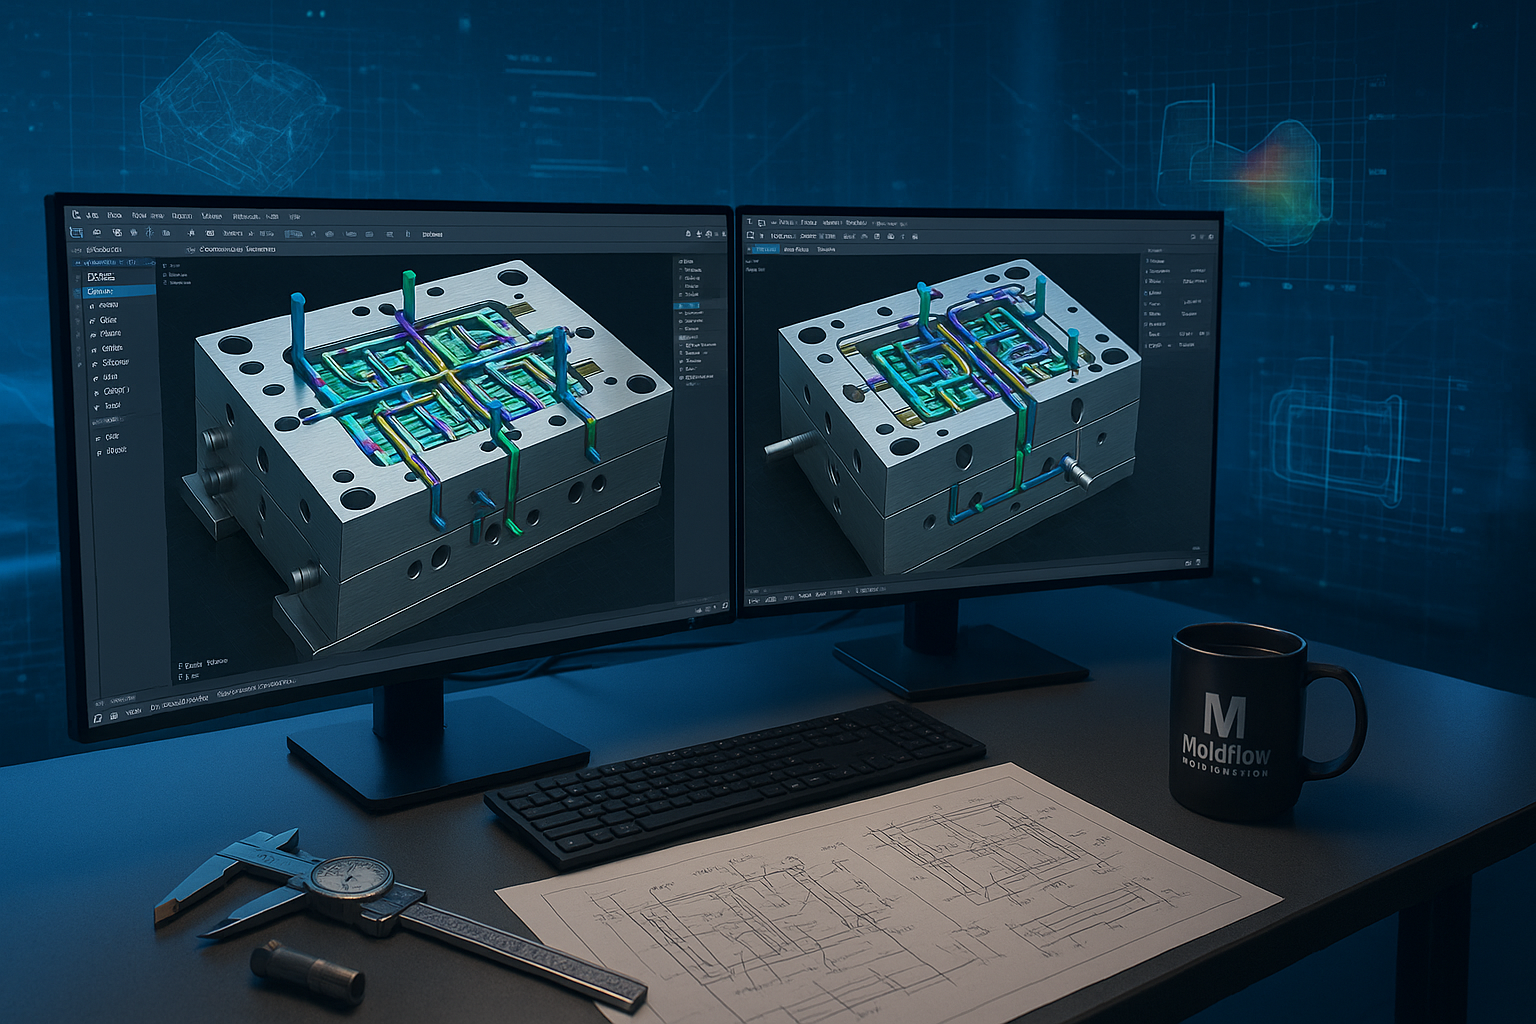
Step 7: Runner and Channel Design
The runner system is designed in such a way that it allows the molten plastic to flow through a gate from the sprue to the mould cavity or cavities.
Good runner design ensures:
- Balanced flow to all cavities.
- Minimal pressure drop.
- Less waste.
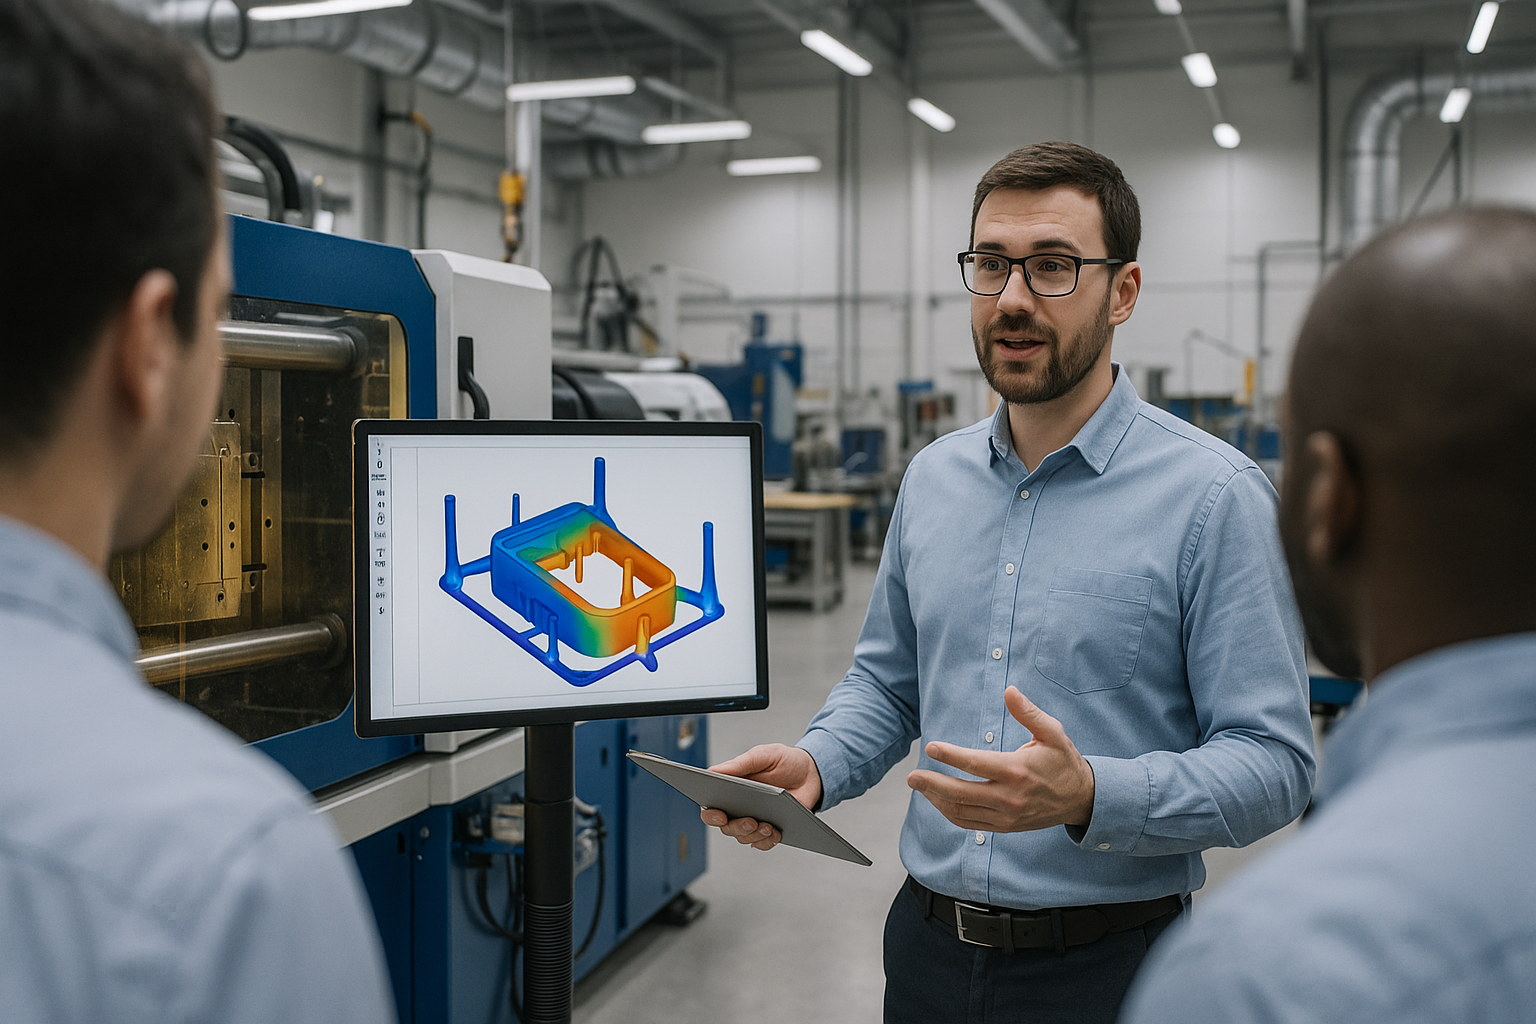
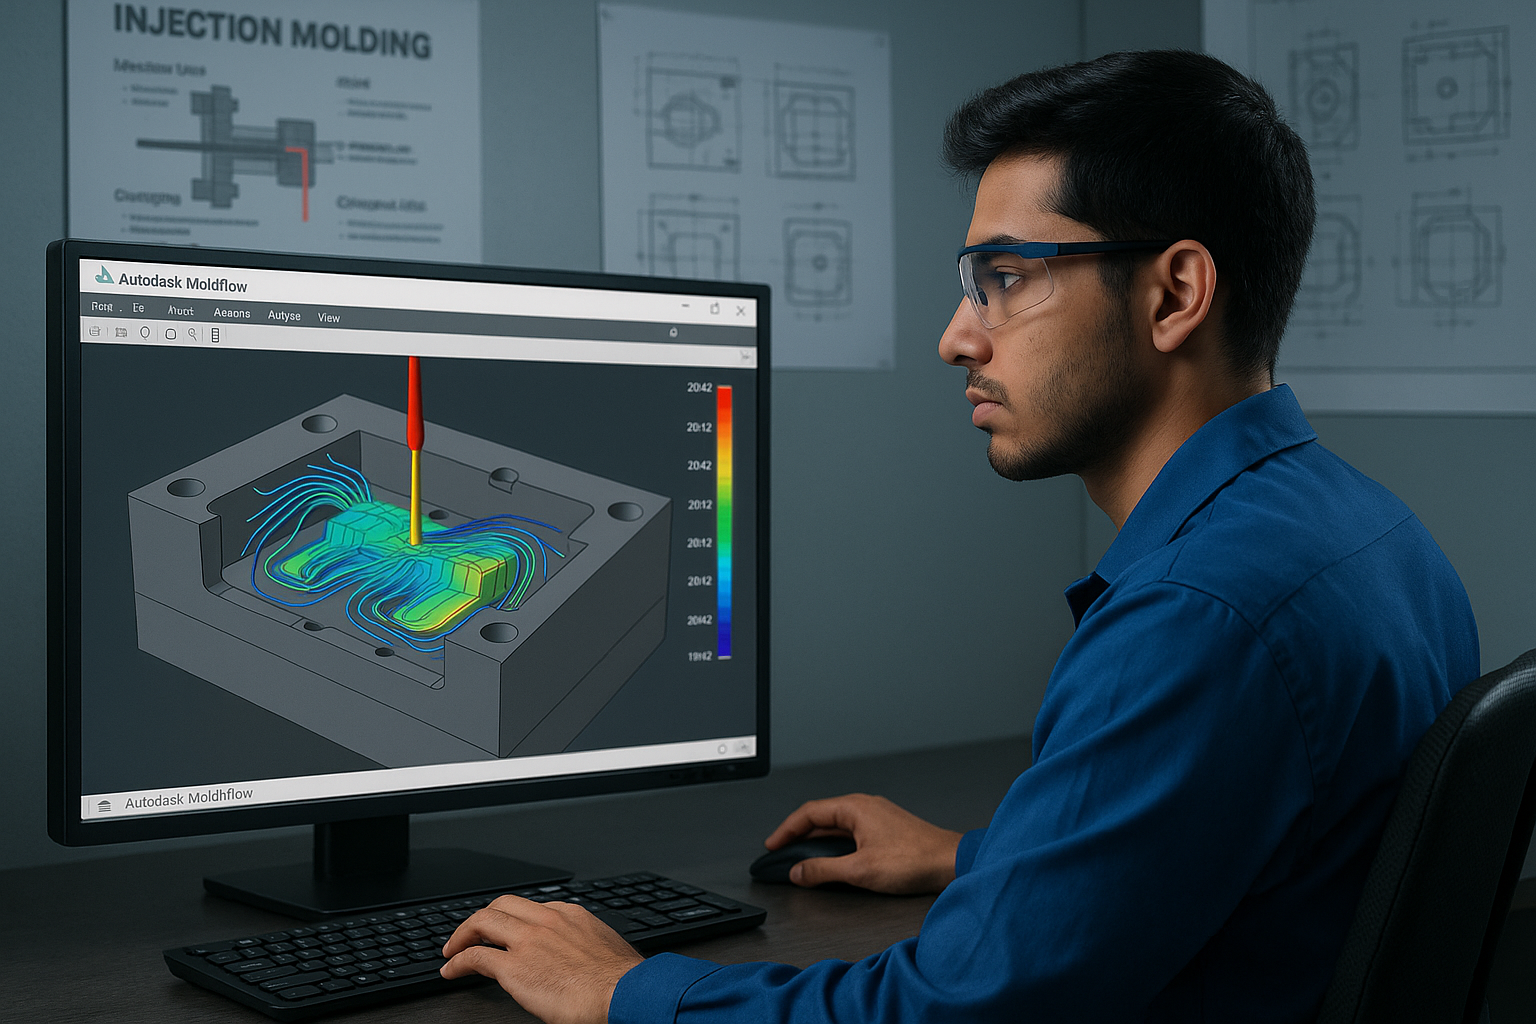
Step 8: Cooling System design
Cooling consume nearly 60–70% of injection molding cycle.
Design considerations:
- Cooling channels that are uniform across the part.
- Efficient Heat Transfer.
- No Hot Spots and No Warping.
3. Mold Design Guidelines for Better Performance
Adhering to some time-tested mold design guidelines will help achieve better productivity and part quality.
- Maintain uniform wall thickness.
- Use appropriate draft angles (minimum 1-2°).
- Avoid sharp internal corners use radii.
- Gate for uniform filling.
- Use balanced runner systems.
- Design proper cooling channels.
- Make sure you have proper venting.
- Choose mold material properly if based on production volume.
- Make space for easy maintenance and cleaning.
Conclusion
Designing an injection mold is part technical challenge, part problem-solving engineering, and part creativity. You must understand how the part works, how the material will react and be affected during manufacture, what the manufacturing limits are, and how to make the tool. From complete product requirements to moldability of the design, types of tools available to be built for production, along with mold gate and cooling techniques combined with established proven design practices – every detail counts if you want predictable consistent results.


0 Comments